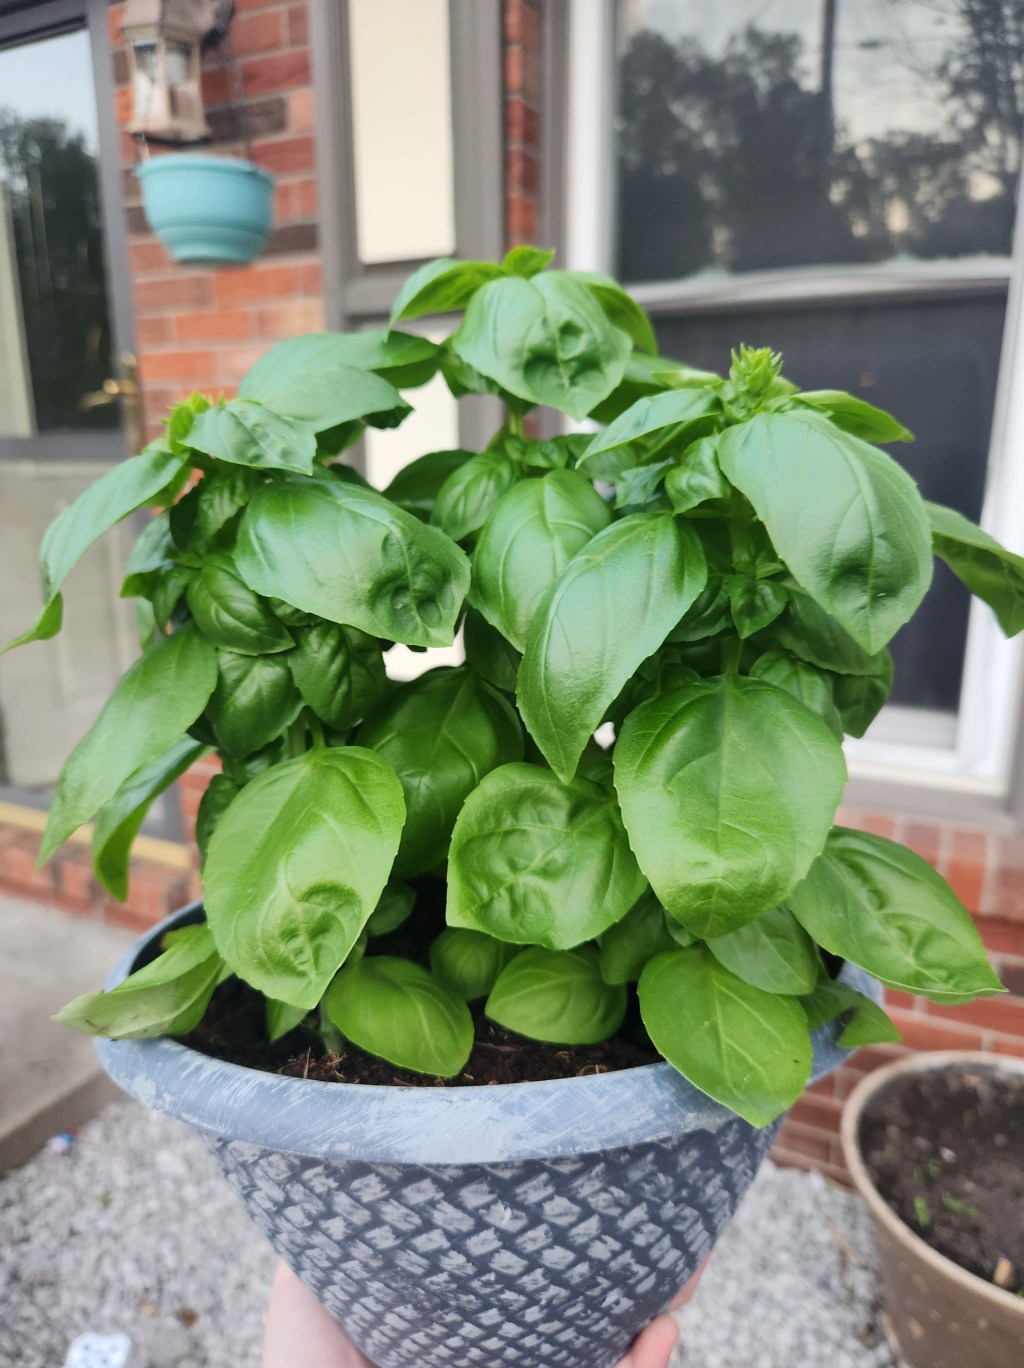
Welcome to the Enchanted Shire! In this article we will be sharing how we harvested and dehydrated our first round of sweet basil this past week! It was a fun process from start to finish. This first round of harvesting came from a plant we bought, but we are in the process of also growing basil by seed. They should be ready for transplanting into beds this week!
We will be companion planting our sweet basil into some of our tomato garden beds. Basil and tomatoes make excellent companion plants. Not only do they not compete for nutrients, but basil can make your tomatoes taste even better!
The process for creating our homemade basil seasoning was far quicker and easier than I thought it would be. If you would rather watch the process click here or read our how-to guide below!
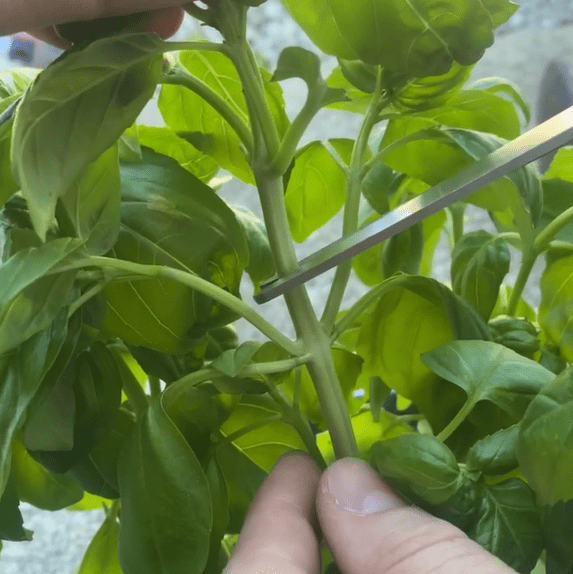
How to Prune Basil from the Plant:
![]() Find a Node (the place where two leaves join the stem). You should use a node at least two to three above the bottom of the plant.
Find a Node (the place where two leaves join the stem). You should use a node at least two to three above the bottom of the plant.
![]() Carefully snip it with scissors or cut it with a knife.
Carefully snip it with scissors or cut it with a knife.
![]() Leave a little above the node.
Leave a little above the node.
![]() The two outer leaves will grow to create more basil and nodes of their own.
The two outer leaves will grow to create more basil and nodes of their own.
Wash Your Basil:
![]() Gently with lukewarm water (cold water will shock the leaves & hot water will scald them). Shake off the excessive water or use a strainer.
Gently with lukewarm water (cold water will shock the leaves & hot water will scald them). Shake off the excessive water or use a strainer.
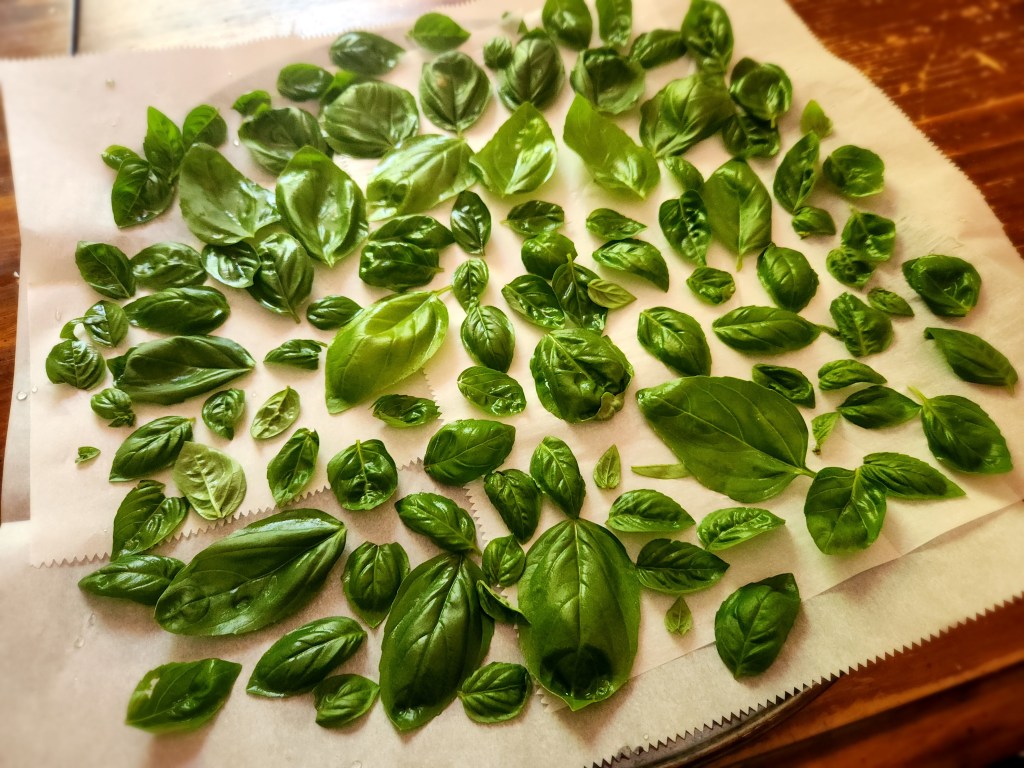
Dry Your Basil:
![]() We dried ours on parchment paper outside in the sun. It was not a windy day so it worked perfectly and it dried in less than an hour!
We dried ours on parchment paper outside in the sun. It was not a windy day so it worked perfectly and it dried in less than an hour!
![]() Do not overlap the leaves or drying will take longer.
Do not overlap the leaves or drying will take longer.
![]() You can also pat dry with a towel and allow to dry inside if windy. It will simply take a little longer.
You can also pat dry with a towel and allow to dry inside if windy. It will simply take a little longer.
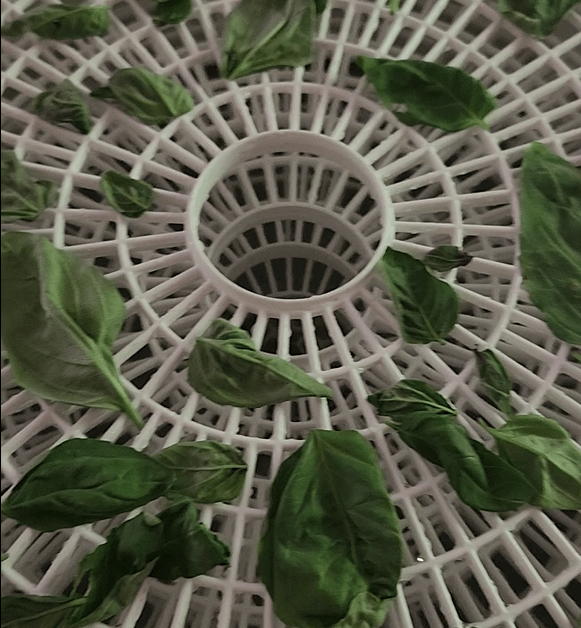
Dehydrator Method:
![]() This was the easiest for us! I will provide the link for the dehydrator we used. It is one of the more affordable ones that still gets the job done and does not seem to take too long. Lay your Basil on the dehydrator “shelves” without the leaves touching. This is important or it will take even longer to dehydrate.
This was the easiest for us! I will provide the link for the dehydrator we used. It is one of the more affordable ones that still gets the job done and does not seem to take too long. Lay your Basil on the dehydrator “shelves” without the leaves touching. This is important or it will take even longer to dehydrate.
![]() You should snip off the stems from the leaves. We did not do this thinking it wouldn’t matter, but it did. How fun – a mistake to learn better for next time! The steams did not dry like the rest of the leaves and were hard & pokey. I ended up having to take several out after we finished!
You should snip off the stems from the leaves. We did not do this thinking it wouldn’t matter, but it did. How fun – a mistake to learn better for next time! The steams did not dry like the rest of the leaves and were hard & pokey. I ended up having to take several out after we finished!
![]() It took around 3 – 4 hours to dry, but it might take longer depending on your dehydrator. You will know when it is finished when the leaves are crispy and crumble easily to the touch. It should not have any moisture left on the leaves!
It took around 3 – 4 hours to dry, but it might take longer depending on your dehydrator. You will know when it is finished when the leaves are crispy and crumble easily to the touch. It should not have any moisture left on the leaves!
![]() Afterwards we put it in a bowl and it was crunch time! You can use one of two methods. We simply washed and dried our hands and then crumbled them by hand. Some people swear by putting them in a blender as it gives a “finer” product, but as we are not selling it and just using it for home use I didn’t want to take the extra step of blending it. I found the end product still came out great!
Afterwards we put it in a bowl and it was crunch time! You can use one of two methods. We simply washed and dried our hands and then crumbled them by hand. Some people swear by putting them in a blender as it gives a “finer” product, but as we are not selling it and just using it for home use I didn’t want to take the extra step of blending it. I found the end product still came out great!
Storing the Basil:
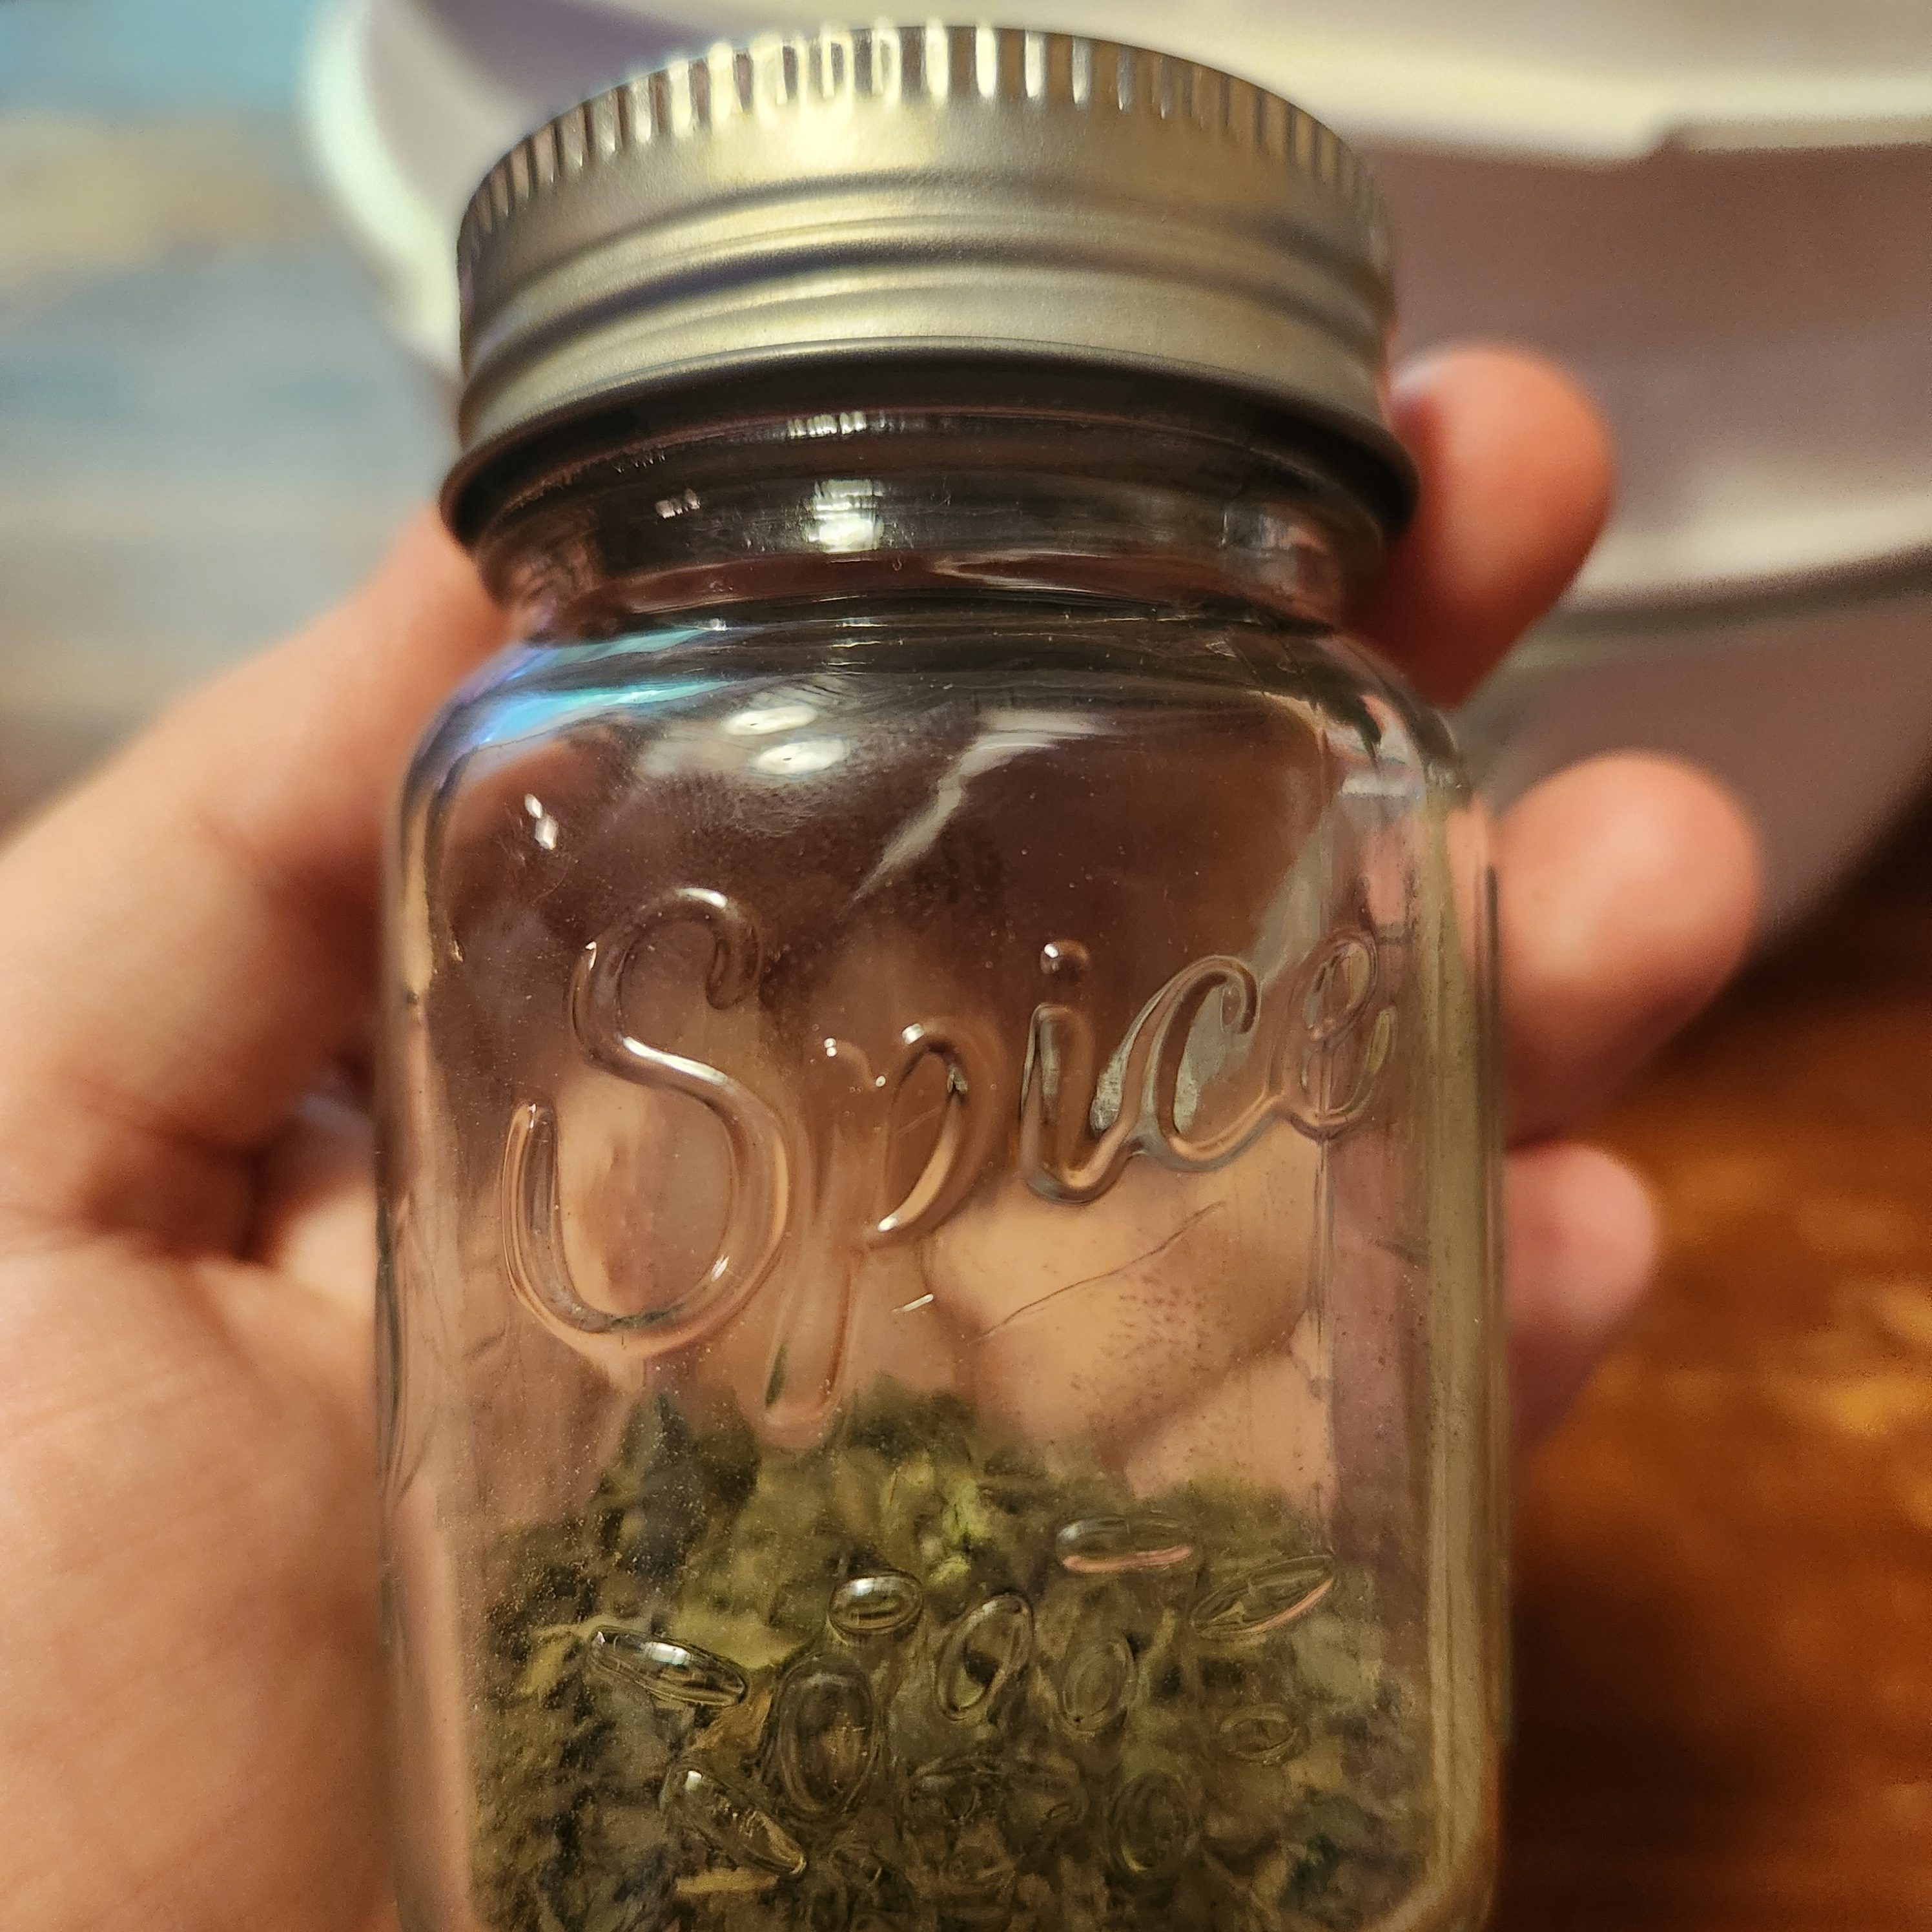
![]() We stored ours in mini Mason jars I bought ahead of time. It worked perfectly and came with a funnel plus lids! Here is the link to the mini mason jars if you are interested in checking them out for yourself. Rule of thumb is that dehydrated basil is good for one year if kept moisture free and in an air tight container. I’ve seen some sites say it can last up to three years, but you will want to keep an eye on color and smell. If the smell is gone it’s probably a good indicator to toss it into your compost pile.
We stored ours in mini Mason jars I bought ahead of time. It worked perfectly and came with a funnel plus lids! Here is the link to the mini mason jars if you are interested in checking them out for yourself. Rule of thumb is that dehydrated basil is good for one year if kept moisture free and in an air tight container. I’ve seen some sites say it can last up to three years, but you will want to keep an eye on color and smell. If the smell is gone it’s probably a good indicator to toss it into your compost pile.
Thank you for following our gardening & homesteading journey! We believe gardening means making mistakes, learning, and trying again. If you aren’t interested in perfect gardening and want to learn together this is the channel for you! If you have any tips for how we can do better next time we are here for it.

Leave a comment